Gatsby is a static site generator built with React, Redux, and Webpack. Like Jeckyll, but with modern JS instead of Ruby.
In the next few posts, we’ll walkthough how to set up your own website/blog using Gatsby.
Topics we’ll cover in this post
- Initializing a new static site
- Adding new pages
Some of this information is in the official documentation. Unfortunately, since this is a somewhat new project, there are still some holes.
Prerequisites
You’ll need
- Familiarity with ES6 JavaScript and React
- Node and NPM installed
Initializing the Project
First install Gatsby
npm install -g gatsby
Then use it to create a new project
# replace "site-name" with the name of the
# directory you want the project to live in
gatsby new site-name
This will create a new react project in the directory site-name. That directory should
have the following structure
LICENSE
gatsby-config.js # Contains config information for Gatsby
packag.json
src/ # Most of the project is in this folder
layouts/
pages/
README.md
node_modules
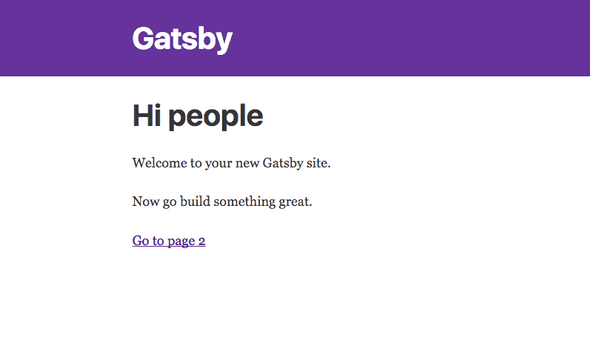
publicNo you can the command yarn develop (or node develop if not using yarn) to serve the app at localhost:8000 in
development mode. You should see
“Development mode” will hotload any changes you make,
except for changes made to config files (package.json, gatsby-config.js, or gatsby-node.js).
Adding a New Page
To create a new page on the site, create a new js file in the src/pages directory,
and export a React component from that file. Gatsby will create a new route based on the name of the file, and render the component based on the layout defined in src/layouts/index.js
To see an example, save the following code into src/pages/my-new-page.js:
import React from 'react'

export default function MyNewPage () {
  return (
    <div>
      <h1>My New Page</h1>
      <p>
        I just added a new page to my site. Cool!
      <p>
    </div>
  )
}
We can see this page by visiting localhost:8000/my-new-page.

Linking to a Different Page
If you need to link to a different page, use the component gatsby-link.
import React from 'react'
import Link from 'gatsby-link'

export default function MyNewPage () {
  return (
    <div>
      <h1>My New Page</h1>
      <p>
        I just added a new page to my site. Cool!<br />
        <Link to="/">Back to the index</Link>
      <p>
    </div>
  )
}
Adjusting the Layout
The file src/layouts/index.js contains the default layout. Anytime component exported from the src/pages directory gets passed into the layout compont as children props.
Changing CSS
The default stylesheet lives in src/layouts/index.css. Any CSS added here will automatically be available in your application.
Adding Resources
Because Gatsby is built with Webpack, you can fonts, images, and other resources as if they were a regular file import.
import React from 'react'

// Importing tells webpack to include this resource.
// The import result will be a string respresenting the path
// to the resource
import logo from './logo.png'

function Header () {
  return <img src={logo} alt='Logo' />
}
Building the Site
Once you’re ready to deploy the site, run yarn build. The result of the build will be
placed in the public folder. Deploy the contents of this folder to a host of your
choice.
Testing the Build
If you’d like to test your build before deploying, you can run gatsby serve.
I like to add the command as a npm script to package.json
"scripts": {
  "build": "gatsby build",
  "develop": "gatsby develop",
  "serve": "gatsby serve"
}
That should get you started. In our next post, we’ll add the ability to create posts from markdown.